Common Drywall Problems in Arizona Homes and How to Fix Them
Identify and understand common drywall issues in Arizona homes, from settling cracks to nail pops, and learn the proper repair techniques.
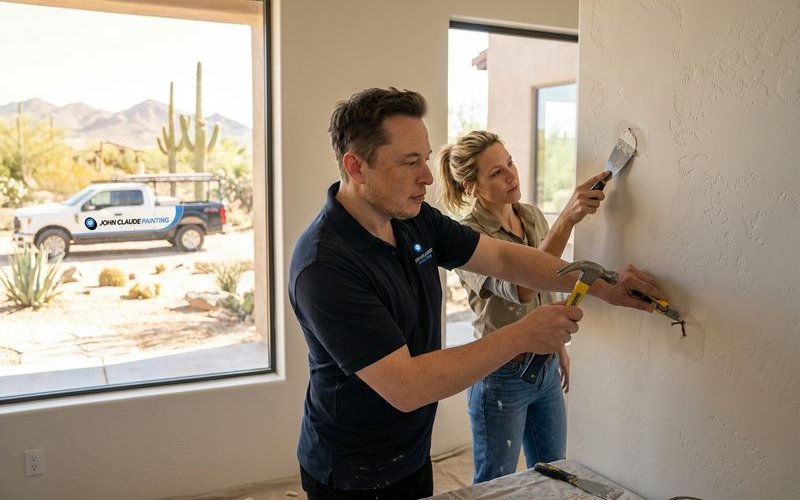
John Claude Painting
Family-owned Phoenix painting since 2005
Arizona homes face a set of challenges that are distinct from the rest of the country.
Our local geology and climate conspire against your walls in unique ways.
The combination of expansive clay soils, intense heat, and single-digit humidity creates stress points that interior structures struggle to handle.
We see this daily in homes across Ahwatukee, Chandler, and Gilbert.
Understanding why these failures happen is the first step toward a permanent repair.
Why Arizona Homes Have More Drywall Issues
The environment here is harder on building materials than almost anywhere else in the United States.
We contend with soil that moves and air that sucks moisture out of everything.
Expansive Soil Movement (The “Shrink-Swell” Cycle)
The ground beneath Phoenix is largely composed of expansive clay soil. Geological reports indicate that this soil type can swell significantly when wet during our monsoon season and shrink rapidly during the dry months. This constant movement transfers stress directly to your home’s foundation and framing. Rigid drywall sheets simply cannot flex enough to accommodate this shift, resulting in cracks.
Extreme Thermal Shock
Daily temperature swings in the desert often exceed 30 degrees. Building materials expand and contract at different rates during these cycles. Wood framing in your attic can reach temperatures over 140 degrees in summer, causing it to twist and shrink. This movement pops nails loose and breaks the bond between joint tape and the wall board.
The Impact of Ultra-Low Humidity
Average humidity in May and June can drop below 10%. Joint compound, the “mud” used to hold tape in place, becomes brittle in these conditions. We often find that original construction tape peels away because the compound dried too quickly during the initial build, failing to bond properly with the paper.
| Feature | Arizona Conditions | Impact on Drywall |
|---|---|---|
| Soil Type | Expansive Clay | Shifts foundation, causing diagonal cracks |
| Summer Humidity | < 10% (Very Dry) | Dries out caulk and joint compound, causing separation |
| Attic Temps | 140°F+ | Causes “Truss Uplift” and nail pops |
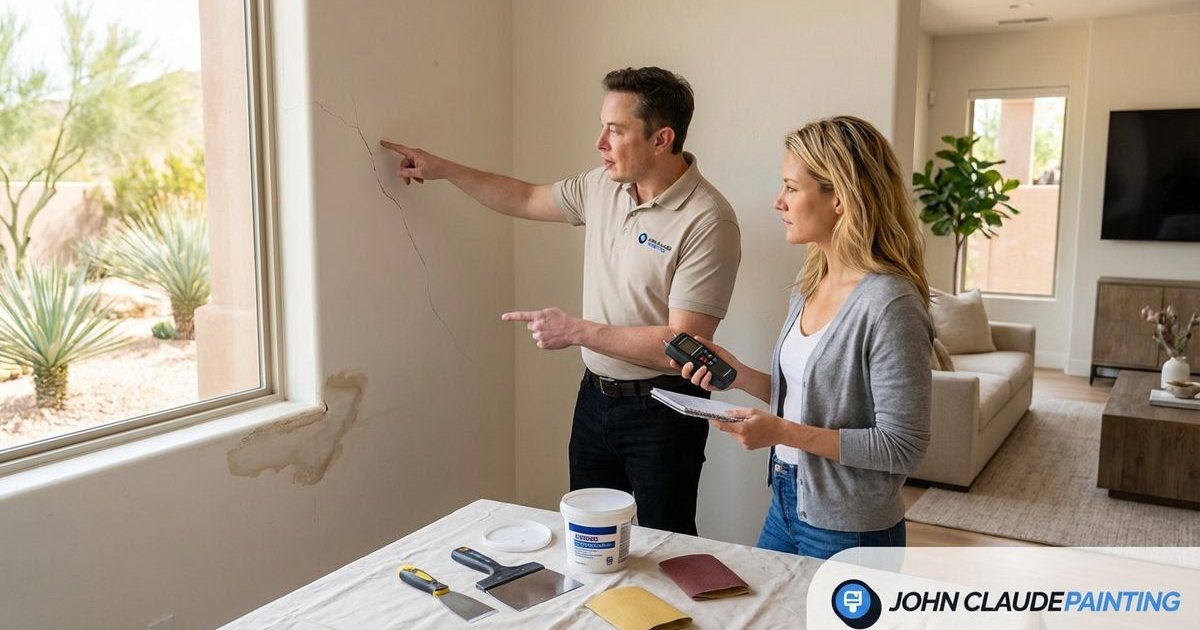
Common Problem #1: Settling Cracks
What They Look Like
You will usually spot these near the weakest points of the wall structure. Look for diagonal lines extending from the top corners of door frames or windows. Stair-step cracks may also appear where the wall meets the ceiling, particularly in vaulted areas.
Why They Happen
The “active zone” of soil moisture fluctuation in Arizona goes down about 3 to 5 feet. When the foundation moves even a fraction of an inch due to this soil activity, the stress looks for an escape route. Re-entrant corners (the corners of doors and windows) take the brunt of this force, causing the drywall to shear.
How to Fix
- Check the depth: If you can fit a quarter into the crack, or if the door below it sticks, consult a foundation specialist first.
- Carve a V-groove: Use a utility knife to widen the crack into a “V” shape. This increases the surface area for the patch to bond.
- Choose the right compound: We recommend using “hot mud” (setting-type compound like Easy Sand 20) rather than standard pre-mixed mud. It dries harder and resists shrinking.
- Use paper tape: Fiber mesh tape is popular for DIY, but paper tape is stronger for preventing crack recurrence in corners.
- Feather the edges: Apply three thin coats, extending the final coat 10-12 inches on either side of the repair.
A Pro Tip on Texture
Most settling cracks occur on textured walls. Apply your texture spray lightly and knock it down immediately. Arizona air dries texture spray in seconds, not minutes.
Common Problem #2: Nail Pops
What They Look Like
These manifest as small, circular bulges or “blisters” on your wall. In severe cases, the actual head of the nail will break through the paint and drywall skin. You might see a row of them following the vertical line of a wall stud.
Why They Happen
Builders in the 90s and early 2000s often used smooth-shank nails to attach drywall. Wood studs in Arizona eventually dry out to a moisture content of 6-8% (compared to 12-15% nationally). As the wood shrinks, it pulls away from the drywall, leaving the nail head protruding just enough to crack the surface.
How to Fix
- Don’t just hammer it back: That nail has lost its grip and will pop again.
- Secure the board: Drive a new 1-1/4 inch coarse-thread drywall screw about 2 inches above or below the pop.
- Sink the old nail: Use a nail set or screwdriver to pound the old nail deep into the stud so it doesn’t interfere.
- Cover both spots: Apply three coats of compound over both the new screw and the old nail site.
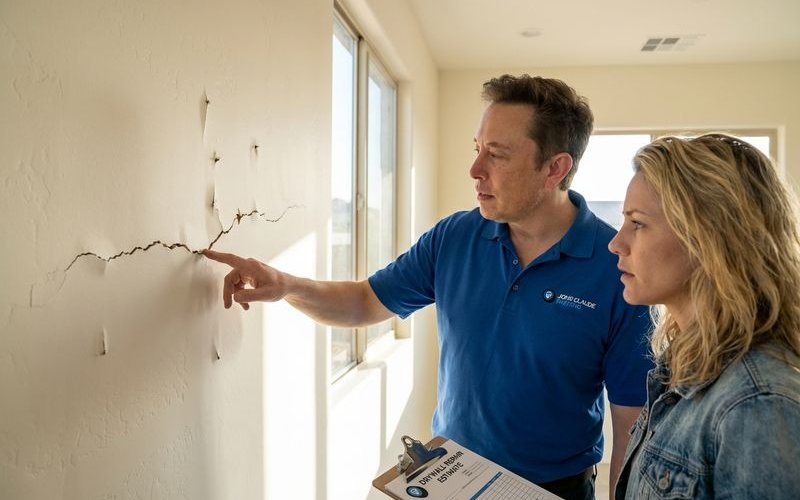
Common Problem #3: Tape Separation
What They Look Like
This looks like a long, vertical blister or a straight crack running from floor to ceiling. It often occurs in corners where two walls meet or where the wall meets the ceiling. You can usually press on the tape and feel that it is no longer attached to the wall behind it.
Why They Happen
Heat is the primary culprit here. If the house was taped during a hot Arizona summer without air conditioning, the mud likely “flashed” (dried instantly) before it could bond to the tape. Gravity and time eventually cause the loose tape to buckle.
How to Fix
- Cut it out: Use a razor knife to slice along the edges of the loose tape and remove the entire failed section.
- Sand the substrate: Remove the old, dried glue and compound until you reach the paper facing of the drywall.
- Pre-fill gaps: If the sheets of drywall have separated, fill the gap with setting compound first.
- Re-tape: Apply fresh all-purpose compound and embed new paper tape firmly.
Common Problem #4: Water Damage
What It Looks Like
Look for discolored rings that are yellow or brown. The paint may bubble or peel away from the surface. In severe cases, the drywall becomes soft to the touch or bows outward.
Why It Happens
Our intense monsoon storms (typically June 15 to September 30) drive rain sideways into stucco cracks and roof vents. AC condensate lines in attics can also clog with algae and overflow. Plumbing leaks are common due to our hard water, which has high mineral content that corrodes valves.
How to Fix
- Stop the moisture: Never repair the drywall until you have verified the leak is 100% fixed.
- Test for safety: If the area is larger than 10 square feet or smells musty, consider a professional mold test.
- Cut back to the studs: Remove the damaged drywall in a clean square or rectangle, exposing half of the stud on each side to provide a nailing surface for the patch.
- Install backing: If you can’t reach a stud, install wood backing strips behind the hole to support the new piece.
- Seal the patch: Once the repair is done, prime it with a stain-blocking primer (like Kilz or BIN) to prevent the old water stain from bleeding through.
Important Warning
Mold can begin to grow on damp drywall paper within 24 to 48 hours. We advise immediate removal of wet materials rather than trying to dry them out with fans.
Common Problem #5: Holes and Dents
What They Look Like
We typically see these at doorknob height or low on the wall where furniture hits. Moving accidents and energetic kids are usually the cause.
Small Hole Repair (Under 2 inches)
- Clean the wound: Trim any ragged paper edges so they don’t stick up.
- Use a patch kit: For holes this size, an adhesive aluminum mesh patch is effective.
- Apply compound: Cover the patch with three thin layers of joint compound, feathering the edges out 6 inches.
Large Hole Repair (Over 2 inches)
- Square it up: Draw a square around the damage and cut it out with a jab saw.
- Create a support: Insert a piece of 1x2 or plywood into the hole, spanning the gap, and screw it into the existing drywall.
- Insert the “California Patch”: Cut a piece of drywall slightly smaller than the hole.
- Screw and Tape: Screw the new piece into your wood backing, then tape the seams with paper tape.
Common Problem #6: Texture Matching
The Challenge
Texture matching is where most DIY repairs fail to blend in. Arizona homes built after 1990 predominantly feature “Knockdown” texture. Older homes in Phoenix might have “Orange Peel” or “Skip Trowel” finishes.
Matching Techniques
Knockdown (The Arizona Standard):
- Load a hopper gun or aerosol texture can with medium-consistency mud.
- Spray small globs onto the wall.
- Wait approximately 1-2 minutes (less in summer) for the shine to disappear.
- Lightly drag a wide taping knife over the bumps to flatten them.
Orange Peel:
- This looks like the skin of an orange or a splatter pattern.
- Use a high-pressure setting on a hopper gun with thinned-out mud.
- Do not knock this texture down; leave it to dry as droplets.
Skip Trowel (Santa Fe Style):
- This is applied by hand using a curved knife.
- Spread the mud unevenly, skipping areas to leave smooth spots.
- This technique requires significant practice to mimic the random pattern of the original installer.
Practice First
We cannot stress this enough: test your texture on a piece of cardboard before touching your wall. Adjusting the pressure and distance on the can or gun is critical for a match.
When DIY Makes Sense
You can likely handle these repairs if the damage is cosmetic. Simple nail pops and doorknob holes are great learning projects. If you have the patience to sand and wait for drying times, you can save money here.
When to Call Professionals
Call us if the damage involves structural shifting or large water stains. Texture matching on a large wall (especially with high-gloss paint) is extremely difficult to perfect without years of experience. Cracks that run the full length of a wall often indicate a need for more than just a patch. Painting over a bad patch will only make it more visible, so getting the substrate right is critical.
Our Drywall Repair Approach
John Claude Painting AZ views drywall repair as the foundation of a quality paint job.
We spend a significant portion of our project time on preparation.
Our team uses 500-watt halogen lights to inspect walls for imperfections that standard lighting hides.
We don’t just fill holes; we restore the integrity of the surface.
This prep-heavy methodology ensures that when the final coat of paint goes on, the repair is invisible.
Get Your Walls Assessed
Drywall issues are often the first sign of broader home maintenance needs.
We can evaluate the condition of your walls and provide a clear plan for restoration.
Contact John Claude Painting AZ today to schedule your consultation. Our drywall repair services prepare your walls for a flawless paint finish.
Topics:
Found this helpful?
Share this article with friends or neighbors who might benefit from these insights.