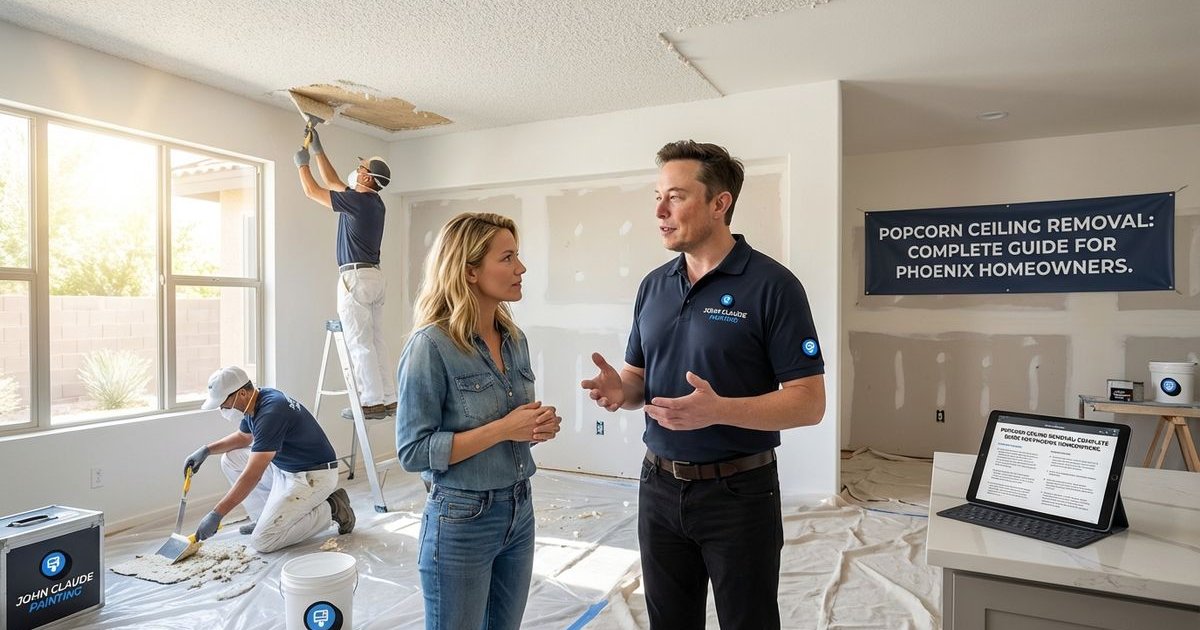
Popcorn Ceiling Removal: Complete Guide for Phoenix Homeowners
Everything you need to know about removing popcorn ceilings, from testing for asbestos to choosing new textures and finishes.
John Claude Painting
Family-owned Phoenix painting since 2005
Popcorn Ceiling Removal: Complete Guide for Phoenix Homeowners
Popcorn ceilings were everywhere from the 1950s through the 1980s. Today, they are one of the most dated features in older Phoenix homes, especially in the ranch-style builds of Ahwatukee and the established neighborhoods of Chandler.
We see this all the time with new homeowners who love the location but hate the texture. Removing it instantly modernizes your space, but it needs to be done correctly to avoid damage or safety risks.
From what we have seen, the biggest misconception is that this is just a messy scraping job. In reality, it is about managing the unique dryness of our desert climate and navigating Maricopa County’s strict air quality regulations.
Here is exactly how we approach the process, the costs you can expect in 2026, and how to get that smooth, modern finish.
Why Remove Popcorn Ceilings?
They Look Dated
Nothing says “1970s” quite like a textured popcorn ceiling. We find that removing this texture is the single most effective change you can make to modernize a home’s interior before painting walls or changing floors.
They Collect Desert Dust
The textured surface traps dust, cobwebs, and allergens that are nearly impossible to clean. This is a specific nuisance here in the Valley where haboobs and fine desert dust settle into every crevice.
They Reduce Light
The bumpy surface absorbs and scatters light, making rooms feel darker than they need to be. Smooth ceilings reflect our abundant natural Arizona light, making spaces feel larger and more open.
They Decrease Home Value
Buyers increasingly expect smooth ceilings. We have observed that popcorn texture frequently becomes a negotiating point in home sales in competitive markets like Gilbert and Scottsdale.
The Critical First Step: Asbestos Testing
Why Testing Matters
Popcorn texture applied before 1980 often contained asbestos. Disturbing asbestos-containing materials releases dangerous fibers into your home.
When Was Your Home Built?
- Pre-1980: Testing is essential before any removal.
- 1980-1990: Testing is strongly recommended as inventory of asbestos materials remained in use.
- Post-1990: Generally safe, but testing offers inexpensive peace of mind.
Local Regulations: Maricopa County Rule 370
In Phoenix, we operate under strict guidelines from the Maricopa County Air Quality Department (MCAQD). Their regulations (specifically NESHAP standards) require that any renovation removing more than 160 square feet of regulated asbestos-containing material must be reported. Ignorance of this rule can lead to significant fines for homeowners and contractors.
How to Get Tested
- Hire a Certified Inspector: Look for an AHERA-certified building inspector.
- Lab Analysis: Local labs like EMSL Analytical in Phoenix typically charge between $22 and $50 per sample for analysis.
- Wait for Results: You will usually have a report in 3-5 business days.
- Act Accordingly: If negative, you can proceed. If positive, you must use a licensed abatement contractor.
If Asbestos Is Present
DO NOT attempt DIY removal. Asbestos abatement requires:
- Licensed abatement contractors
- Proper containment (negative air pressure)
- Specialized HEPA filtration
- Legal disposal procedures at approved landfills
The cost is higher, but your health is priceless.
The Removal Process (Non-Asbestos)
Step 1: Preparation
Clear the Room
- Remove all furniture.
- Take down light fixtures.
- Remove ceiling fans.
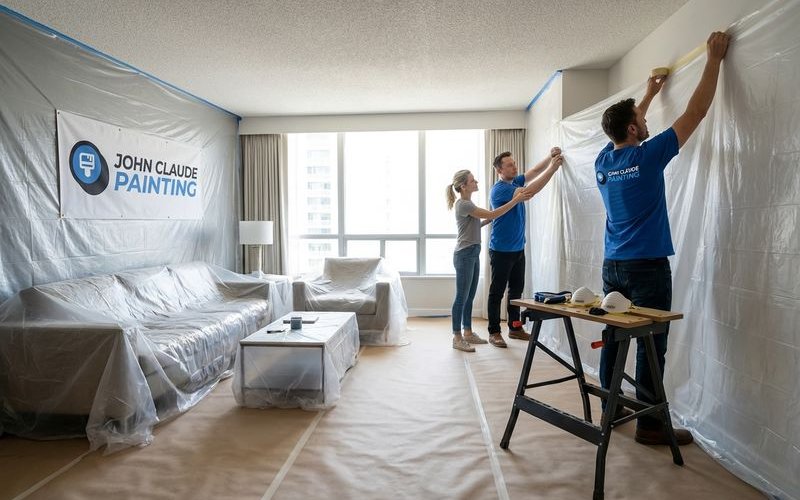
Protect Everything We use heavy-duty plastic sheeting on floors and walls to create a “catch basin” for the debris.
- Plastic sheeting on floors (6mil minimum).
- Plastic on walls.
- Tape all edges securely.
- Cover outlets and switches.
Prepare for Mess Popcorn removal is extremely messy. Wet texture is heavy and will soak through thin drop cloths, so professional-grade containment is critical.
Step 2: Wetting the Texture (The Phoenix Factor)
This step requires specific attention in our dry climate.
- Use a pump sprayer with water.
- Add a small amount of dish soap to help penetration.
- Spray in smaller sections (4x4 feet) because water evaporates rapidly here.
- Wait 5-10 minutes to soften.
- Pro Tip: In July or August, you may need to spray a section twice before scraping to prevent the drywall paper from tearing.
Step 3: Scraping
- Use a wide drywall knife (10-12 inches).
- Scrape at a low angle to avoid gouging the drywall.
- Work in sections.
- Collect debris on plastic immediately to prevent it from being tracked through the house.
Step 4: Dealing with Painted Popcorn
Many popcorn ceilings have been painted over, which seals the texture and makes removal harder.
- Water won’t penetrate the paint layer easily.
- You may need a chemical texture stripper.
- This often doubles the labor time required.
Step 5: Post-Removal Repair
After scraping, you will typically find gouges from the scraper and damaged tape joints. Exposed seams and uneven surfaces are common and must be addressed before finishing.
Step 6: Skim Coating
For smooth ceilings, we apply a thin layer of joint compound.
- Apply multiple thin coats rather than one thick one.
- Sand between coats.
- Climate Warning: Joint compound dries extremely fast in Phoenix summers. We use “setting-type” compounds or work in small batches to prevent premature drying and cracking.
Step 7: Priming and Painting
- Use a dedicated high-build ceiling primer.
- Apply quality ceiling paint.
- Two coats are standard for an even, non-reflective finish.
Alternative: Covering Instead of Removing
When Covering Makes Sense
- Asbestos is confirmed.
- The underlying drywall is severely damaged.
- Budget constraints prevent full removal and skim coating.
- Faster completion is needed.
Covering Options
New Drywall Layer
- 1/4” drywall installed over existing texture.
- Tape and finish normally.
- Adds minimal ceiling height reduction.
Ceiling Planks/Tiles
- Decorative panels cover texture completely.
- Various styles available.
- Can be DIY-friendly.
Trade-offs
- Ceiling height is reduced slightly.
- You may need longer electrical box extenders for fixtures.
- The original ceiling remains hidden, which could be an issue for future renovations.
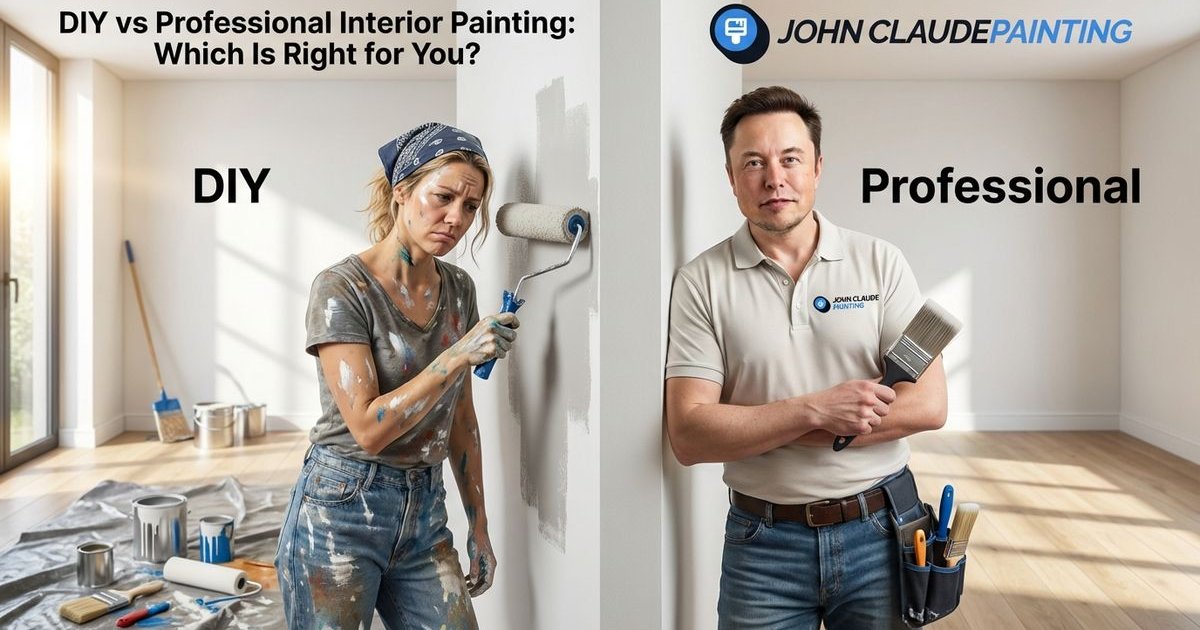
DIY vs. Professional
DIY Considerations
Pros:
- Lower cost (materials only).
- Work at your own pace.
Cons:
- Extremely messy work.
- Time-consuming (expect 16+ hours per room).
- High risk of damaging the drywall, requiring expensive repairs later.
- Safety risks without proper ladders or scaffolding.
Professional Benefits
Efficiency: We complete average rooms in 1-2 days. Quality: You get a factory-smooth Level 5 finish that is very hard to achieve with DIY tools. Contained: Proper dust and debris management keeps your home livable. Complete: The ceiling is primed and ready for paint when we leave.
Cost Comparison (2026 Estimates)
| Feature | DIY Cost | Professional Cost |
|---|---|---|
| Materials/Labor | $150 - $250 per room | $1,200 - $2,500 per room (varies by size) |
| Time Investment | 2-3 Days | 1-2 Days |
| Skill Level | High (for smooth finish) | Expert |
| Equipment | Rental/Purchase needed | Included |
| Finish Quality | Variable | Guaranteed Smooth |
Note: Professional costs in Phoenix typically range from $2.50 to $6.00 per square foot depending on ceiling height and whether refinishing/painting is included.
What to Expect During the Project
Duration
| Project Scope | Timeline |
|---|---|
| Single room | 1-2 days |
| Multiple rooms | 3-5 days |
| Whole house | 5-10 days |
Includes removal, skim coat, and primer.
Disruption Level
- The room being worked on is unusable.
- Adjacent rooms are accessible, though there will be some noise.
- HVAC filters should be replaced after the project due to fine dust.
- Plan for setup and cleanup time in your schedule.
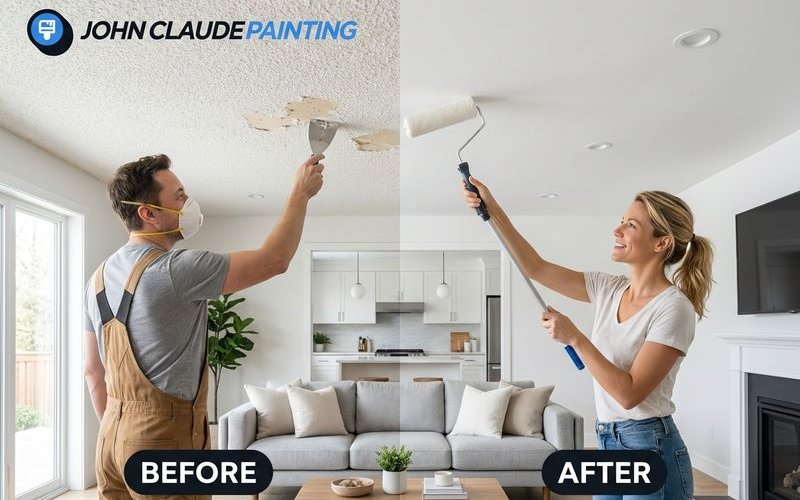
Results
After professional removal:
- Smooth, modern ceilings.
- Primed and ready for paint.
- Significant visual upgrade.
- Easier to maintain and clean.
Finishing Options After Removal
Smooth Finish (Level 5)
This is the classic, modern look. It shows every imperfection, so preparation must be thorough. We recommend this for most contemporary Phoenix homes.
Light Knockdown
This is a subtle texture that hides minor imperfections while still looking updated. It is a good middle ground for older homes with uneven framing.
Skip Trowel
This hand-applied artistic texture fits well with Santa Fe or Spanish-style homes common in our area.
Our Popcorn Removal Process
At John Claude Painting, we take pride in delivering a clean, hassle-free experience.
- Verify Asbestos Status: We ensure safety compliance first.
- Protect Your Home: We completely seal off the room.
- Remove Texture: We scrape thoroughly and carefully.
- Repair Drywall: We fix all underlying damage and tape joints.
- Skim Coat: We apply a smooth finish to match your aesthetic.
- Prime: We seal the surface for painting.
- Clean Up: We leave your home cleaner than we found it.
We transform dated popcorn ceilings into smooth, modern surfaces that completely change how your rooms look and feel.
Ready to modernize your ceilings? Contact us for a free estimate on popcorn ceiling removal.
Topics:
Found this helpful?
Share this article with friends or neighbors who might benefit from these insights.